03 Jun 2025
“That cannot be done.” Is rarely true, but it’s a phrase I’ve heard more and more from technical people without offering any rationale or further explanation. This tendency to use absolute language when making blocking statements reminded me of a useful “McDonald’s rule” that I was introduced to many years ago when deciding where to eat with friends. It goes something like this:

Keep Reading
07 May 2025
Why aren’t people writing more types? Perhaps it’s because the intermediate and expert developers deleted the patterns that didn’t work and left no trace for beginners to learn from. This post details some code I recently deleted that has a pattern I call the “duplicate duck.” You can learn the process I used to develop the type, and why I deleted it. Further, I advocate for Rust developers to document and share their mistakes in the hope that we can all learn from them.

Keep Reading
26 Mar 2025
Update (2025/04/02): The change I suggested below was merged in PR #64. It’s pretty neat I went from knowing nothing about this project to contributing to it in the span of a single blog post.

Keep Reading
17 Mar 2025
I’m not exactly sure about the timeline, but at some point, gem install sassc stopped working for me on my Mac (ARM). Initially, I thought this was because that gem was no longer maintained, and the last release was in 2020, but I was wrong. It’s 100% installable today. In this post I’ll explain some things about native extensions libraries in Ruby and in the process tell you how to fix this error below if you’re getting it on your Mac:

Keep Reading
21 Nov 2024
Sorry, Dave, ADHD is real, and (not acknowledging it) can hurt you. Hi. I’m Richard. I’m a Ruby Core Contributor. I also code in Rust, and enjoy giving talks and writing books about How to (Contribute to) Open Source. I was diagnosed with ADHD in my late 30’s. What does it mean that I was “diagnosed” with ADHD? Am I simply a speed junkie? What even is ADHD, and why is there so much misinformation and misunderstanding about it? Keep reading to find out.

Keep Reading
11 Nov 2024
I’ve spent the last decade+ working on Ruby deploy tooling, including (but not limited to) the Heroku classic and upcoming Cloud Native Buildpack. If you want to contribute to a Ruby deployment or packaging tool (even if it’s not one I maintain), I can help. If you want to learn more about Cloud Native Buildpacks (CNBs) and maybe get a green square on GitHub (or TWO!), keep reading for more resources.

Keep Reading
01 May 2024
I love the power of containers, but I’ve never loved Dockerfile. In this post we’ll build a working OCI image of a Ruby on Rails application that can run locally without the need to write or maintain a Dockerfile. You will learn about the Cloud Native Buildpack (CNB) ecosystem, and how to utilize the pack CLI to build images. Let’s get to it!

Keep Reading
14 Jun 2023
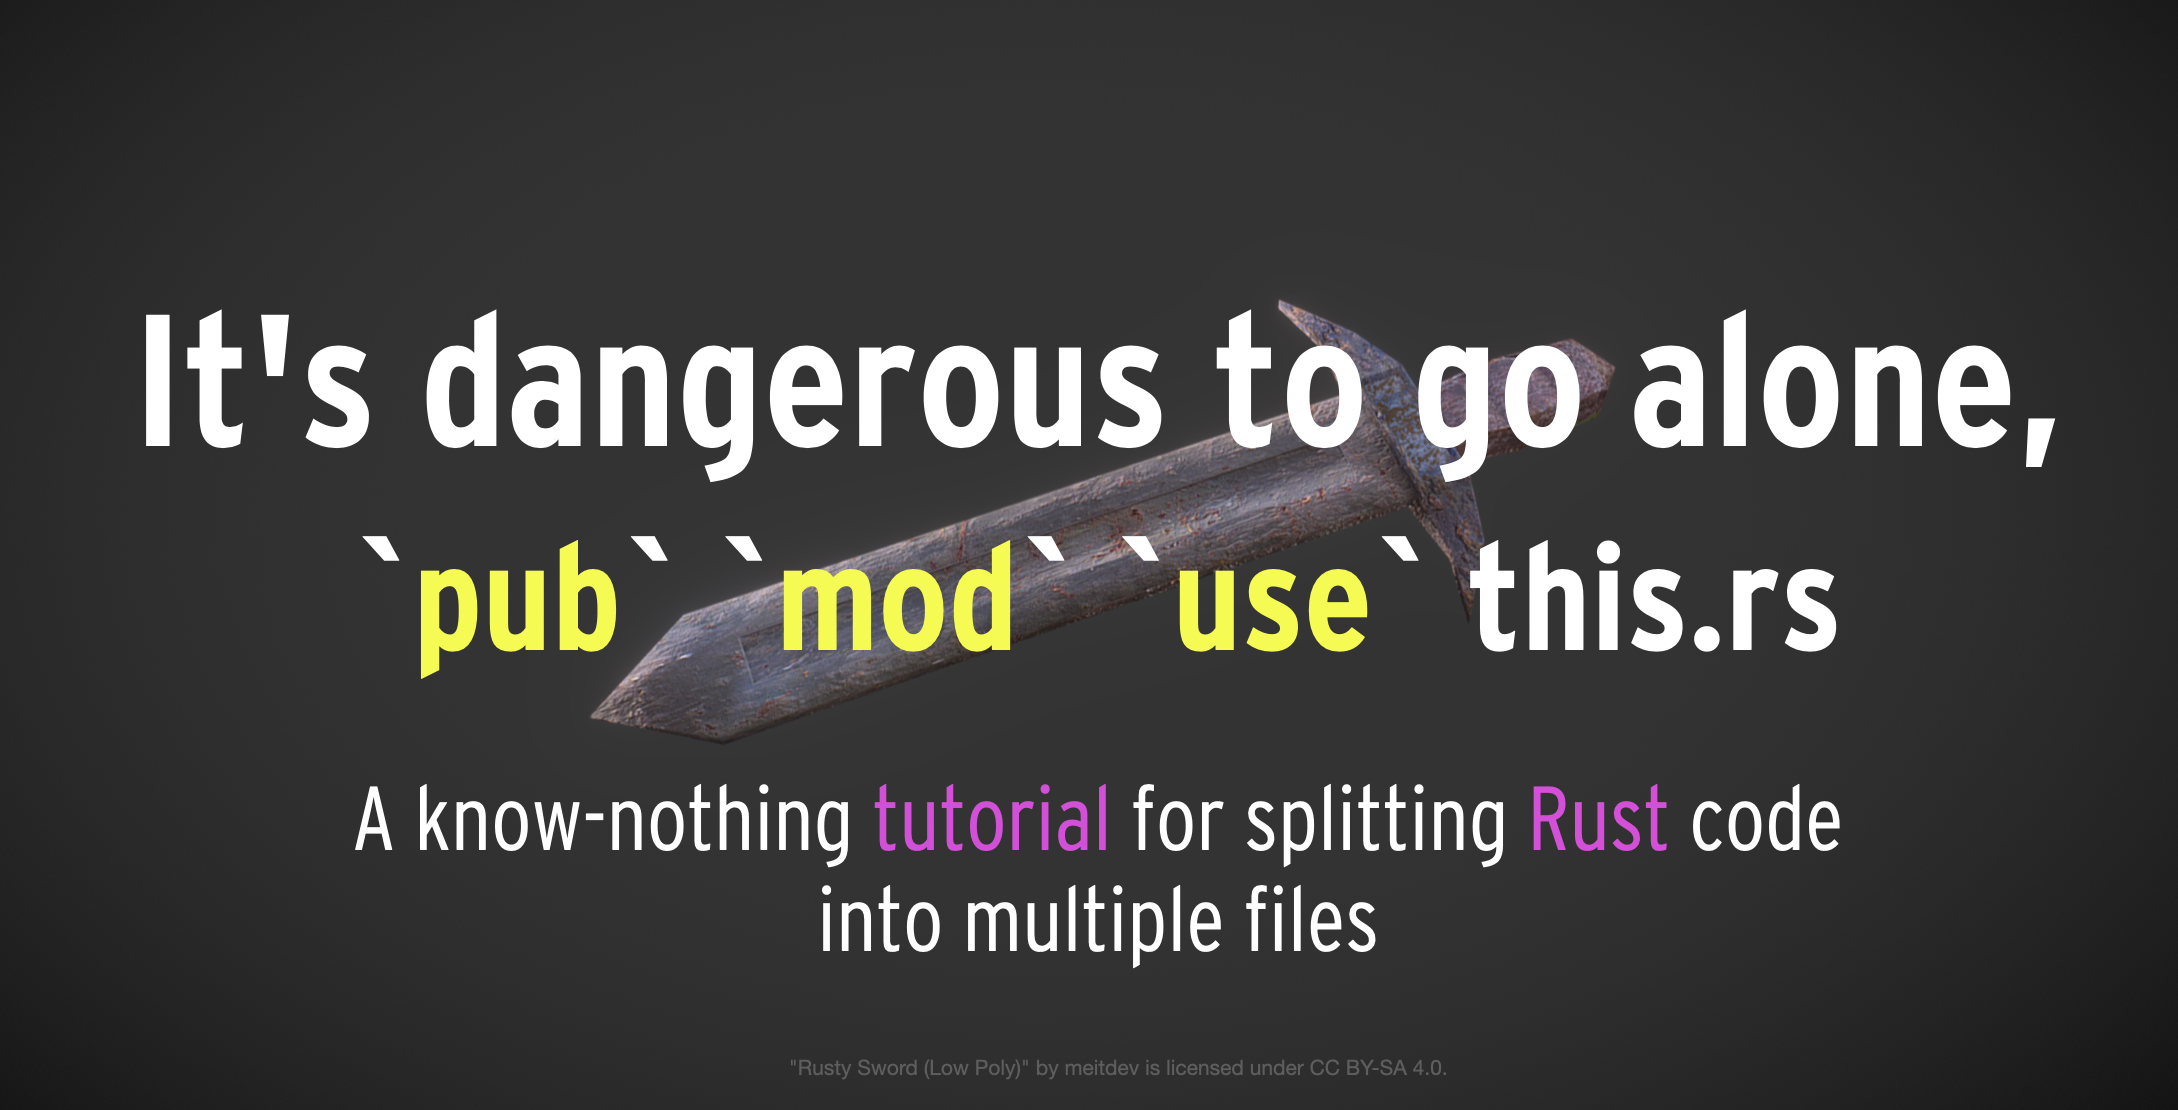
What exactly does use and mod do in Rust? And how exactly do I “require” that other file I just made? This article is what I wish I could have given a younger me.
Keep Reading
24 Feb 2023
The other day I got another question about the zombocom org on GitHub that prompted me to write this post. This org, github.com/zombocom, holds most all of my popular libraries). Why put them in a custom GitHub org, and why name it zombocom? Let’s find out.
Keep Reading
09 Nov 2022
I came to love pairing after I hurt my hands and couldn’t type. I had to finish up the last 2 months of a graduate CS course without the ability to use a keyboard. I had never paired before but enlisted several other developers to type for me. After I got the hang of the workflow, I was surprised that even when coding in a language my pair had never written in (C or C++), they could spot bugs and problems as we went. Toward the end, I finished the assignments faster when I wasn’t touching the keyboard, than I was by myself. Talking aloud forced me to refine my thoughts before typing anything. It might be intimidating to try pairing for the first time, but as Ben puts “it’s just a way of working together.”

Keep Reading